Template Editor — User Guide
Complete guide to creating and editing professional photo booth templates for Fotillo software
Complete guide to creating and editing professional photo booth templates for Fotillo software
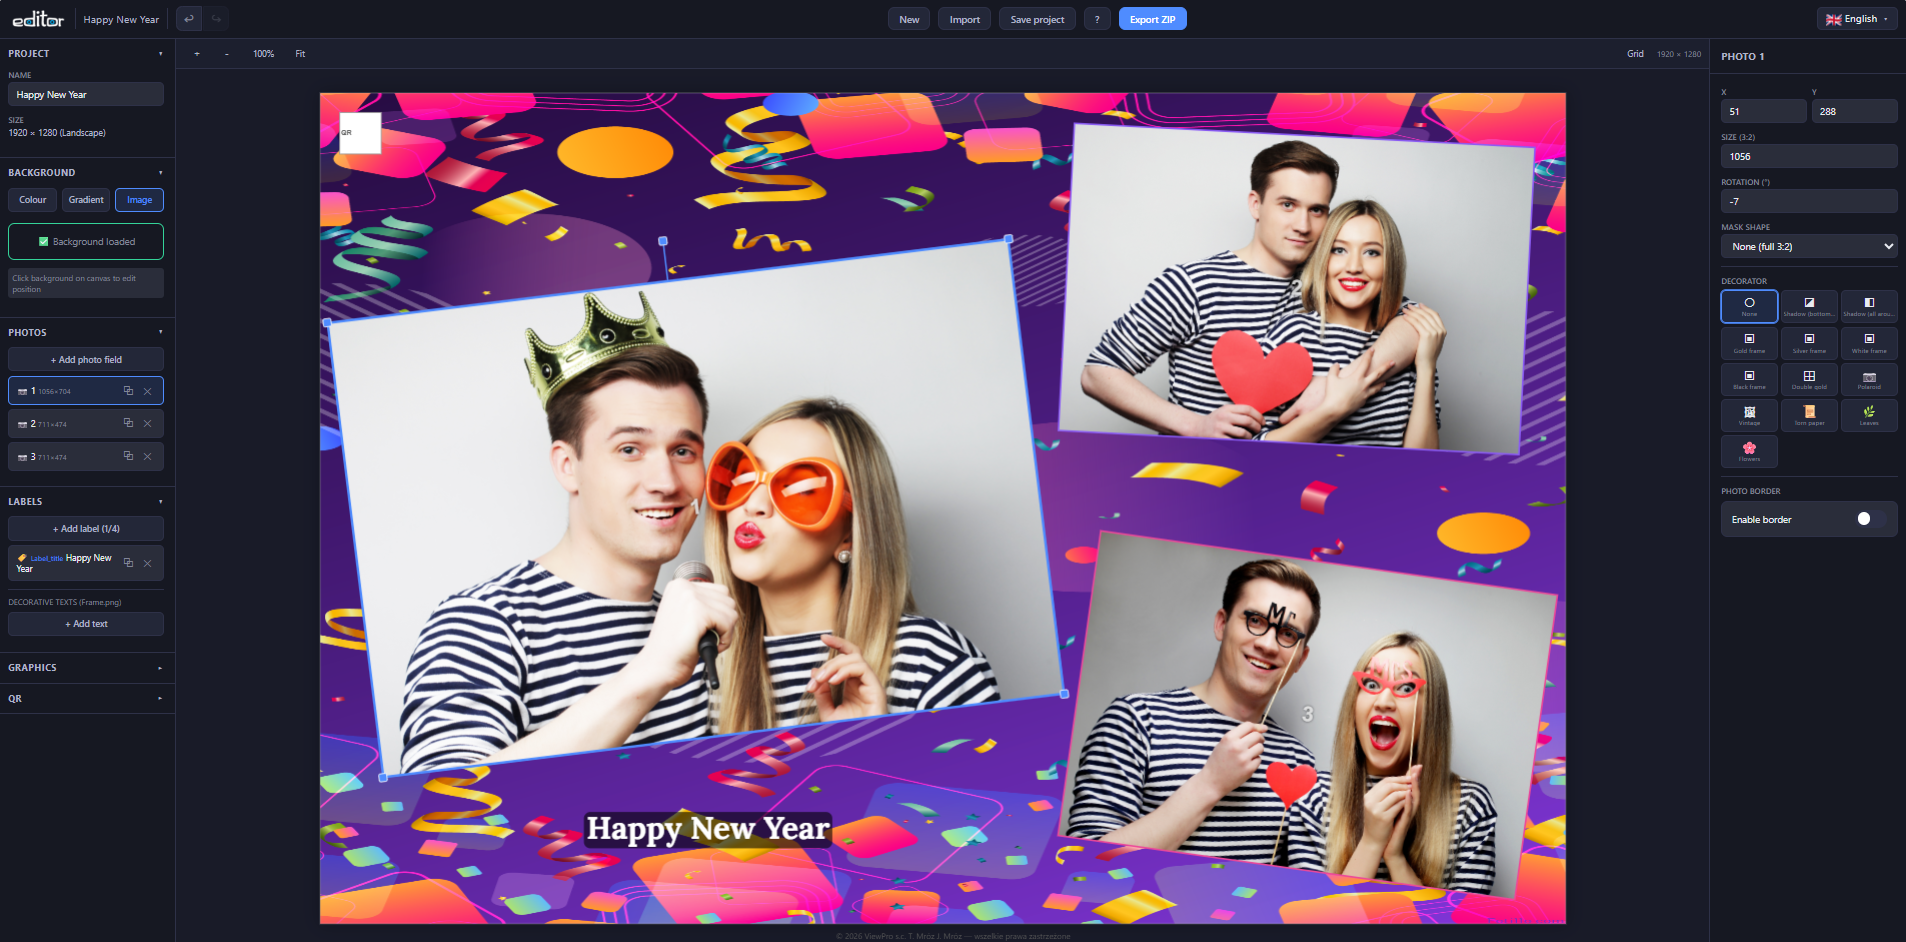
Fotillo Template Editor is a free, browser-based tool for designing photo booth templates compatible with Fotillo photo booth software. No installation required — works directly in your browser. Design your template visually, then export a ready-to-use ZIP package.
Place photos, labels, graphics and text directly on canvas with real-time preview.
Circle, heart, star, diamond, hexagon, cloud and more — with adjustable scale.
Shadows, gold/silver frames, polaroid effect, vintage borders, leaves and flowers.
Wedding, elegant, modern and system fonts from Google Fonts (OFL license).
Automatic alignment lines when dragging elements into position.
Full interface translation with automatic browser language detection.
Create strip templates with automatic duplication and cut line preview.
ZIP with Collage.xml, PNG files, fonts and project file — ready for Fotillo.
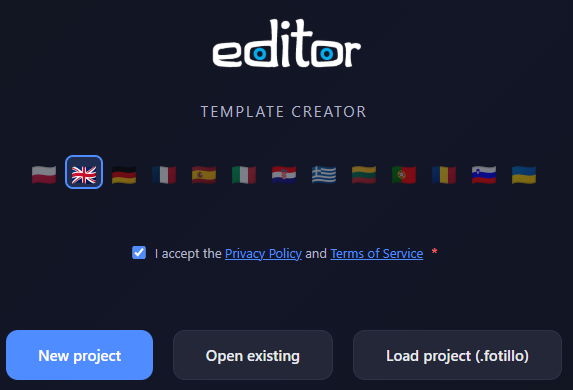
Open the editor in your browser. The home screen offers three options:
The editor automatically detects your browser language and sets the interface accordingly. You can change the language at any time using the flag selector.
Click New project to open the wizard. Configure your template step by step:
Enter a descriptive name for your template (e.g. "Wedding-Gold-3photos"). This name will be used for the exported ZIP folder and the Collage.xml file.
The wizard walks through four steps: printer, print format, photos and layout, then name and background. You pick the printer family first, and the editor shows only the formats that printer can really produce from the loaded roll.
| Printer | Roll | What one roll produces |
|---|---|---|
| Citizen CY / CY-02 DNP RX1 / RX1HS | 10×15 cm | 15×10 · 10×15 · 2 × 15×5 (strips) · 2 × 5×15 (strips) |
| 15×20 cm | 15×20 · 20×15 · 15×15 (offcut 5 cm) | |
| 13×18 cm | 13×18 (not verified) · 18×13 (not verified) · 13×13 (offcut 5 cm, not verified) · 2 × 13×9 (2 per sheet, not verified) · 2 × 9×13 (2 per sheet, not verified) | |
| Citizen CX-02 DNP DS620 | 10×15 cm | 15×10 · 10×15 · 2 × 15×5 (strips) · 2 × 5×15 (strips) |
| 15×20 cm | 15×20 · 20×15 · 15×15 (offcut 5 cm) · 15×11.5 (offcut 9 cm) · 11.5×15 (offcut 9 cm) · 2 × 15×10 (2 per sheet) · 2 × 10×15 (2 per sheet) | |
| 15×23 cm | 15×23 (not verified) · 23×15 (not verified) · 2 × 15×11.5 (2 per sheet, not verified) · 2 × 11.5×15 (2 per sheet, not verified) | |
| 13×18 cm | 13×18 (not verified) · 18×13 (not verified) · 13×13 (offcut 5 cm, not verified) · 2 × 13×9 (2 per sheet, not verified) · 2 × 9×13 (2 per sheet, not verified) | |
| Citizen CZ-01 DNP QW410 | 10×15 cm | 10×15 · 15×10 · 10×11.5 (offcut 4 cm) · 11.5×10 (offcut 4 cm) · 10×10 (offcut 5 cm) · 2 × 10×7.5 (2 per sheet) · 2 × 7.5×10 (2 per sheet) · 3 × 10×5 (strips) · 3 × 5×10 (strips) |
| 11.5×20 cm | 11.5×20 (not verified) · 20×11.5 (not verified) · 11.5×15 (offcut 5 cm, not verified) · 15×11.5 (offcut 5 cm, not verified) · 11.5×11.5 (offcut 9 cm, not verified) · 11.5×10 (not verified) · 10×11.5 (not verified) · 2 × 11.5×10 (2 per sheet, not verified) · 2 × 10×11.5 (2 per sheet, not verified) |
Formats are grouped by roll, because the roll decides what can be printed. Each tile shows the print size, the pixel size, the cut lines and a hatched offcut if any is left over. Every format comes in two variants, portrait and landscape. The paper leaves the printer the same way; only the direction of the image and of the cut lines differs.
Custom size accepts any dimensions in centimetres or pixels together with a density. The editor immediately says which format the Fotillo software will recognise and at how many dpi. Office printer offers A3, A4 and A5 for laser or inkjet printing; such a template usually will not appear on a photo booth with a Citizen or DNP printer.
Select 1 to 5 photo fields. For each photo count, choose from several layout presets: side by side, stacked, mosaic, grid, asymmetric layouts or tilted arrangements with slight rotation for a dynamic event look.
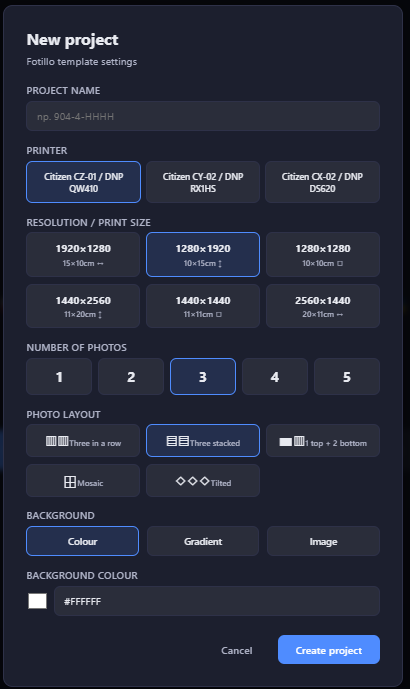
Choose between a solid colour or an image background. Both can be changed later in the editor.
The editor has three main areas:
Collapsible sections for all template components: Project settings, Background, Photos, Labels, Graphics, QR code and Validation. Each section expands to show relevant controls and element lists.
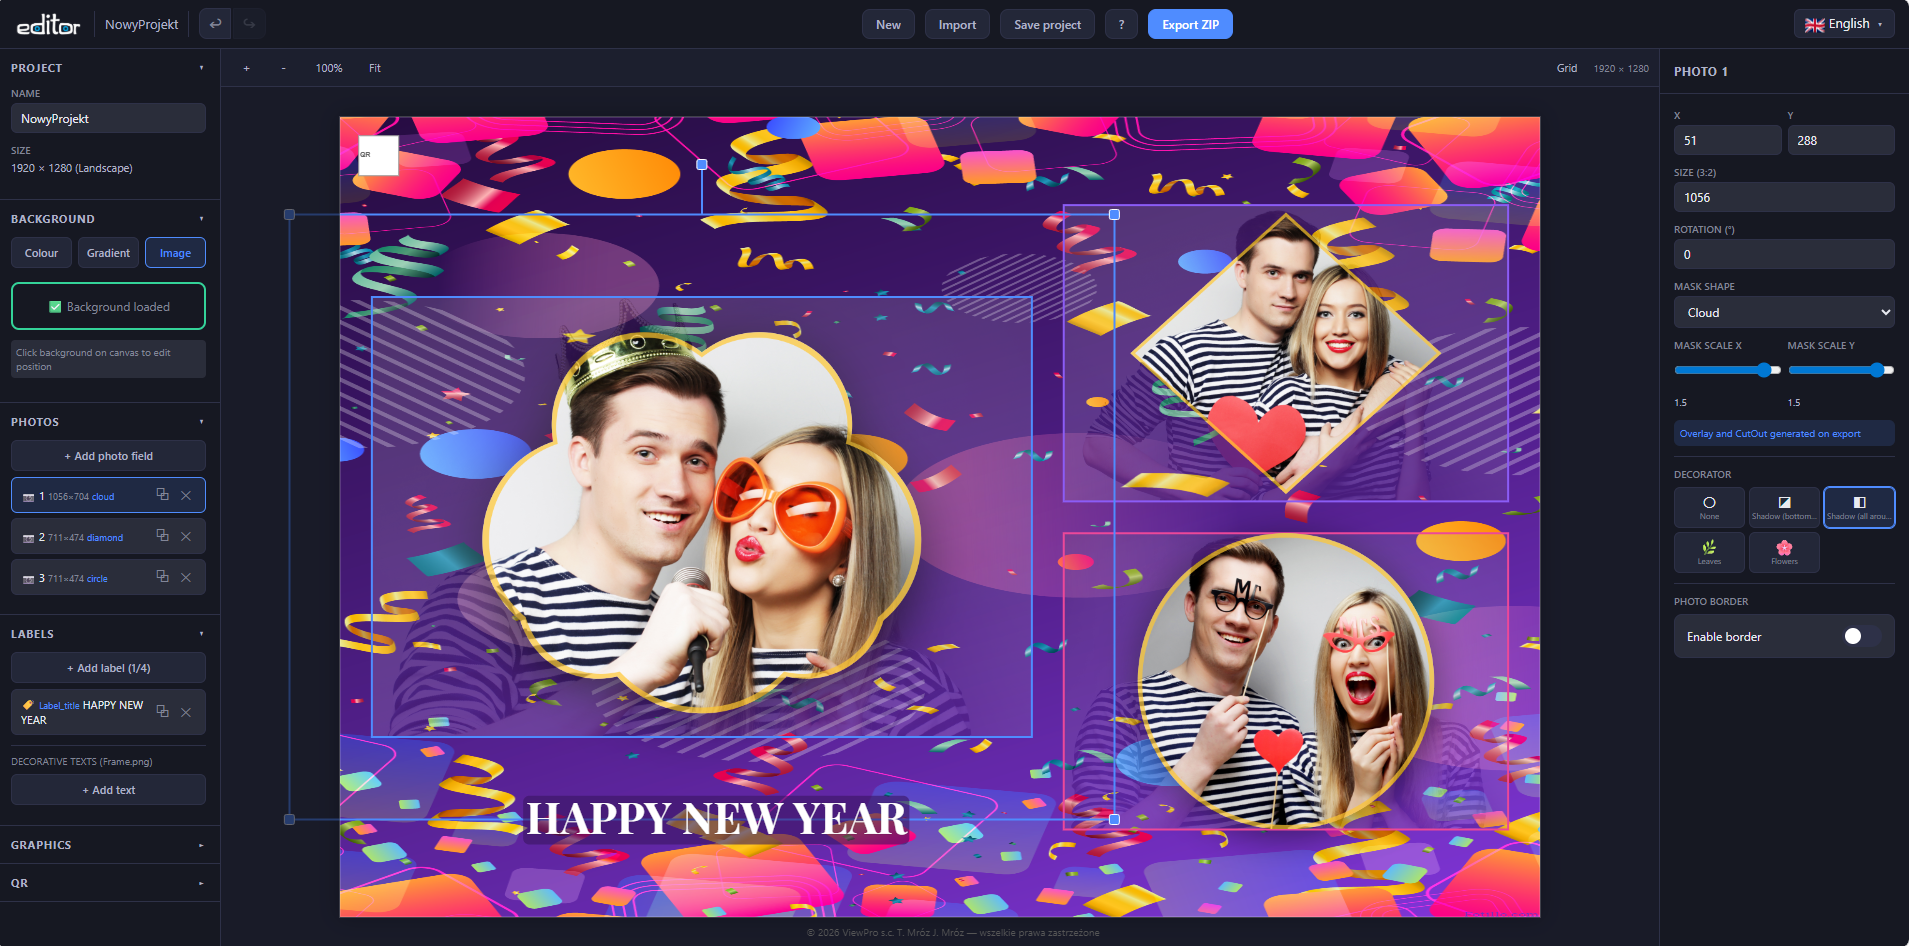
Central workspace where you see and edit your template. All elements can be dragged, resized and rotated directly. The dark semi-transparent overlay outside the canvas shows the printable area boundary.
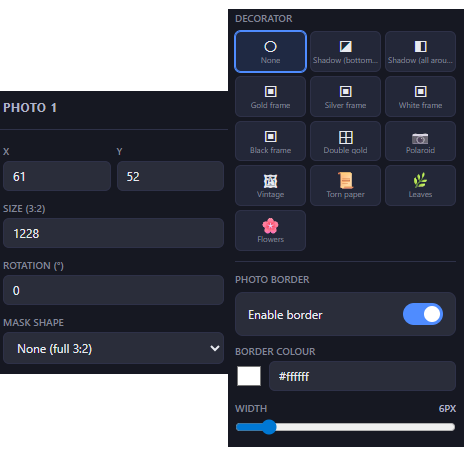
Shows detailed properties of the currently selected element. Click any element on canvas to see its position (X, Y), size, rotation, and type-specific settings like mask shape, decorator, font and colours.
The "QR Code" section sets the position (X, Y) and size of the QR code on the template.
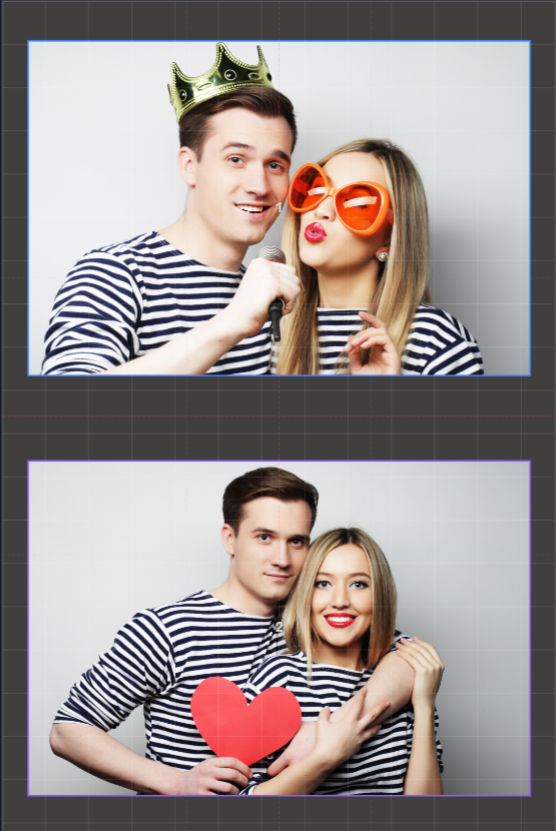
Photos are the core elements of your template. Each photo field shows a demo image for preview purposes — in the final print, Fotillo replaces these with real customer photos.
Apply a mask to crop photos into a specific shape. Select a photo, then choose a mask shape in the right panel. The editor shows a preview with the demo image clipped to the chosen shape, surrounded by a golden border.
| Shape | Description |
|---|---|
| None (full 3:2) | Default rectangular photo — no mask applied |
| Circle | Perfect circle centred on photo |
| Square | Square centred on photo |
| Portrait rectangle | Narrow vertical rectangle |
| Landscape rectangle | Narrow horizontal rectangle |
| Heart | Heart shape — popular for weddings |
| Star | 5-pointed star |
| Diamond | Rotated square / rhombus |
| Hexagon | Regular hexagon |
| Arch | Arched top with flat bottom — elegant window effect |
| Oval | Ellipse matching photo proportions |
| Cloud | Soft cloud-like organic shape |
| Custom (from file) | Upload your own PNG mask for unique shapes |
Use the Scale X and Scale Y sliders (range 0.3–1.5) to stretch or compress the mask shape. Create ovals from circles, narrow hearts, wide stars and other variations.
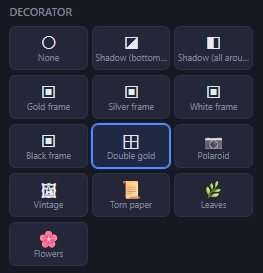
Add visual embellishments around photos. Select a photo and scroll down in the right panel to see the decorator grid. Click any decorator to apply it instantly.
Each photo field can have a border rendered into Frame.png. In the "Photo border" section of the right panel, enable the toggle, pick a colour and set the width with the slider (1–40 px). The border works with both rectangular photo fields and shape masks — when a mask is applied, the outline follows the shape.
| Decorator | Effect | Notes |
|---|---|---|
| Shadow (bottom-right) | Subtle drop shadow on right and bottom edge | Rendered under the photo, never covers it |
| Shadow (all around) | Soft shadow surrounding entire photo | Works with all mask shapes |
| Gold / Silver / White / Black frame | Thin coloured border line | Slightly overlaps onto photo edge (2px) |
| Double gold | Two golden lines with decorative gap | Elegant double-border effect |
| Polaroid | White frame with wide bottom strip and shadow | Classic instant-photo look |
| Vintage | Ornamental double border with golden corner accents | Perfect for elegant event templates |
| Torn paper | Aged paper effect with irregular torn edges | Rustic, creative look |
| Leaves | Natural leaf branches in corners | Uses custom PNG from assets/leaf.png |
| Flowers | Flower arrangements in corners | Uses custom PNG from assets/flower.png |
Labels are dynamic text fields that Fotillo renders at print time. The booth operator or customer can change the text for each event without editing the template. You can add up to 4 labels per template.
At least one label must remain in the template — without it Fotillo will not put any text on the photo. A new project receives one label automatically; you can freely add and remove the others, but when you try to delete the last one the editor shows a warning and keeps it. The texts shown in the editor are samples only — the actual texts are entered in Fotillo, in the menu under the F3 key.
| Label key | Typical use |
|---|---|
| Label_title | Event title — "Wedding Reception", "Birthday Party" |
| Label_name | Name — "Anna & Thomas", "Company Name" |
| Label_date | Date — "15 June 2026" |
| Label_hashtag | Hashtag, website or social handle — "#OurWedding" |
Each label offers extensive formatting: font family (28 fonts), size, style (normal/bold/italic), text colour, background colour with adjustable opacity (0–255), corner radius and inner padding. All these parameters are saved to Collage.xml and used by Fotillo at print time.
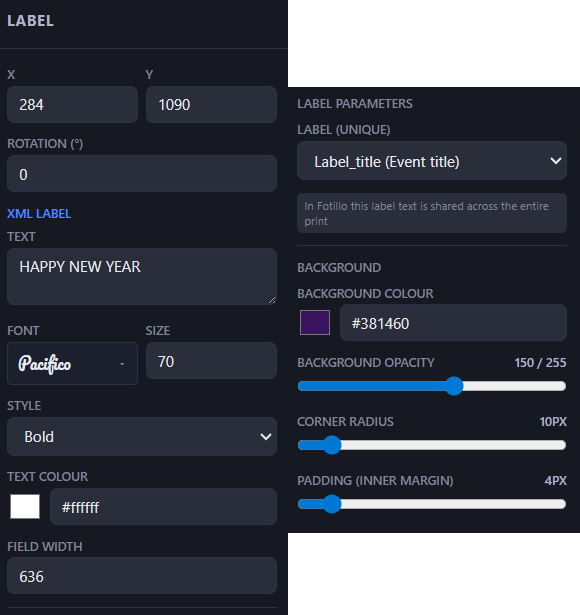
<Labels> section in XML will be empty.Unlike XML labels, decorative texts are rendered directly into Frame.png — they become a permanent part of the template image. Use them for fixed branding, watermarks, copyright notices or design elements that should appear on every print exactly as designed.
Decorative texts have the same formatting options as labels (font, size, colour, background) but without XML integration. Add them via the "Labels" section in the left sidebar, under "Decorative texts (Frame.png)".
In the right panel, each decorative text has three alignment buttons: ⇤ Left, ⇔ Center, and Right ⇥. Alignment works within the field width — adjust the width to get the desired result. XML labels do not have this option.
Each element in the sidebar list has a ⧉ (duplicate) button next to the remove button. The copy appears at the same position as the original, offset by 30 pixels to the right and down, and is immediately selected. Photos can be duplicated when there are fewer than 5. XML labels — when free slots are available (max 4). Decorative texts and images can be duplicated without limit.
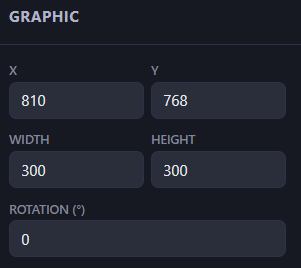
Upload PNG or JPEG images to add logos, decorative frames, branding elements or any graphic overlay to your template. Graphics are rendered into Frame.png and appear on every print.
Two background modes are available:
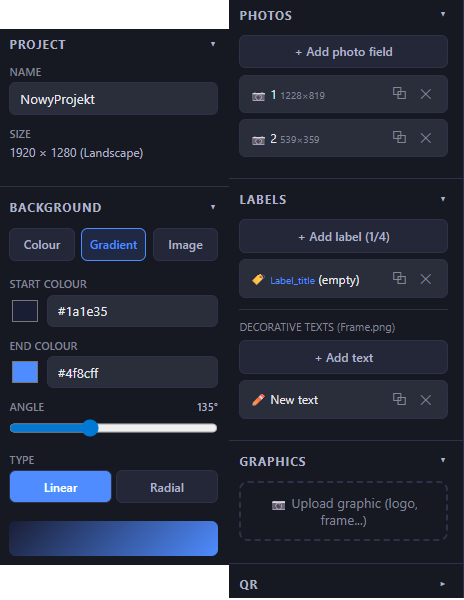
The template background now has three modes: Colour, Gradient and Image. Gradient mode lets you set two colours (start and end), a direction angle (0–360°) and a type — linear or radial. A live preview of the gradient appears in the sidebar as a colour strip. The gradient is rendered into both the Collage.png preview and the exported Background.png.
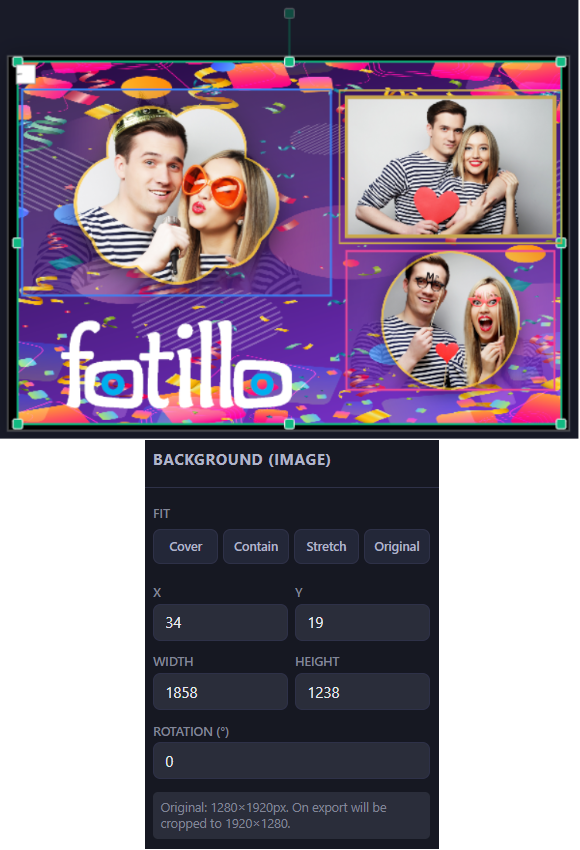
When the background image is selected, the right panel shows four quick fit buttons. Cover — scales the image to fill the entire canvas (may crop edges, image is centred). Contain — scales to fit inside the canvas while preserving proportions (empty areas may appear on the sides, image is centred). Stretch — fits to exact canvas dimensions without preserving proportions. Original — restores the natural size and sets position to (0,0). After any mode you can fine-tune X, Y, W, H manually.
Pick any colour using the colour picker or type a hex code. Common choices for photo booth templates: white (#FFFFFF), black (#000000), or event-themed colours matching the occasion.
Upload a PNG or JPEG image. The background loads at its natural resolution and can be positioned, resized and rotated on canvas using green handles. Use "Reset (fit to canvas)" button in the right panel to stretch the image to fill the entire template area. Background images are exported as Background.png.
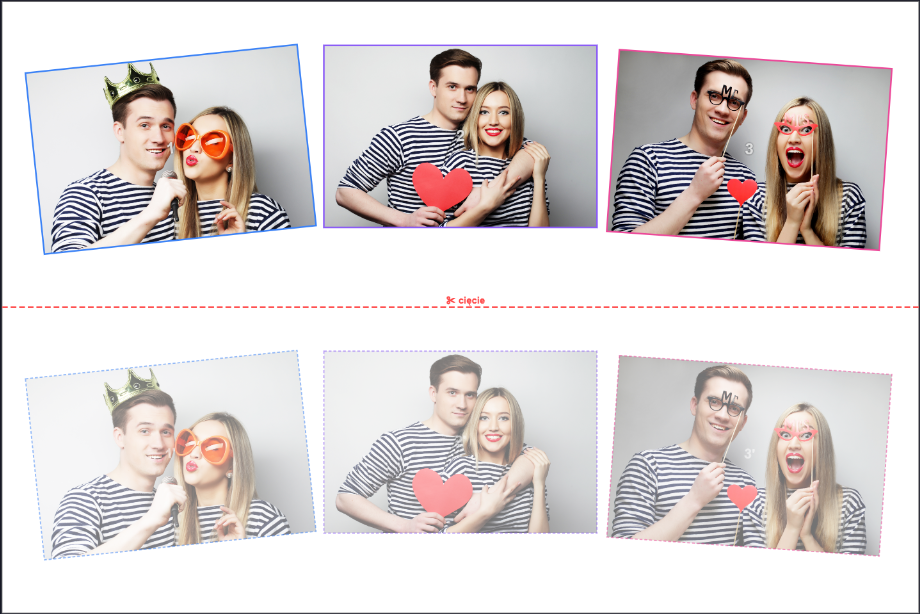
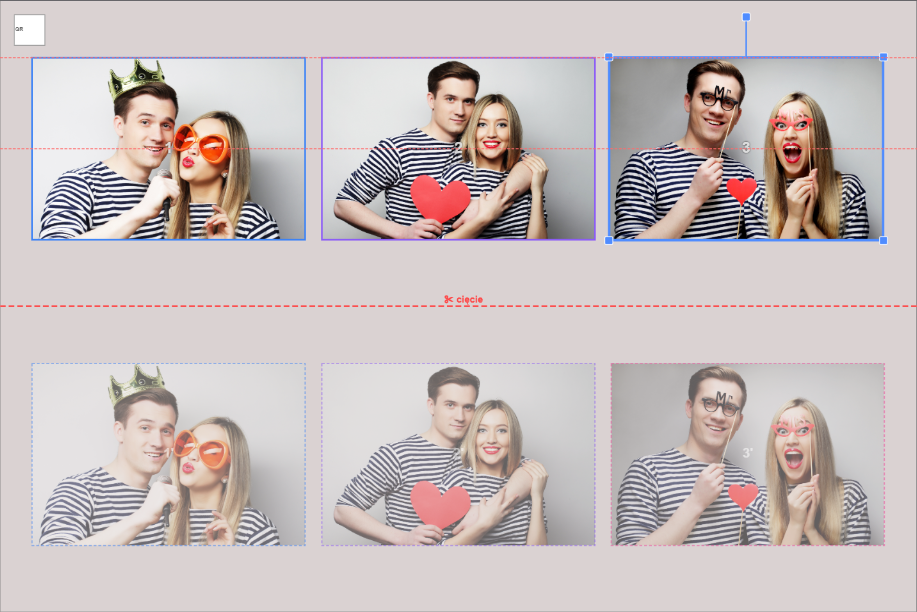
The printer cuts across the full width of the roll, so the same sheet yields different prints depending on the roll: two 15×5 strips from a 10×15 roll, three 10×5 photos from a 10×15 roll in the CZ-01, two 15×10 prints from a 15×20 sheet. You always design one piece; the editor draws the rest as a semi-transparent preview and creates them at export. The number of pieces goes into Collage.xml as PrintCuts.
When you drag any element on canvas, red dashed alignment lines appear automatically when the element's edge or centre aligns with canvas boundaries, other elements, or the centre point. Elements snap to these guides with an 8-pixel threshold for precise positioning.
Toggle with the Grid button in the toolbar to display three layers of guide lines: white lines every 100 pixels, a red dashed centre cross (horizontal and vertical midpoints), and blue dashed rule-of-thirds lines for photography composition.
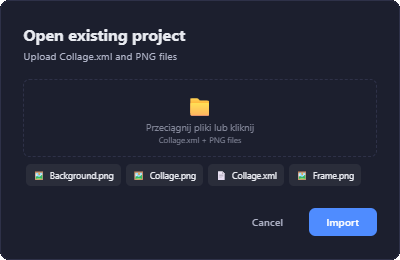
Import templates previously created in Fotillo or exported from this editor:
Click Export ZIP in the top toolbar. The editor validates your project, displays a preview of the generated XML, lists all files to be included, and downloads a ZIP package ready to upload to Fotillo.
<SequenceCount>0</SequenceCount> with no <Photos> section.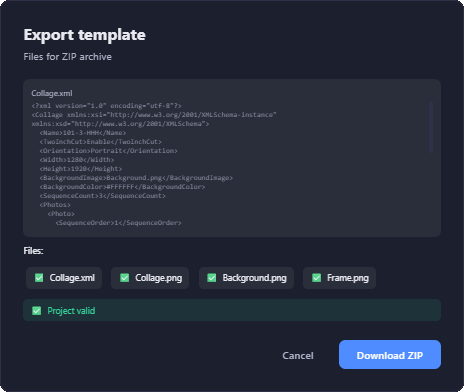
The Fotillo software checks every template for a digital signature. A template without one opens and works, but prints carry a DEMO mark. The signature is added by the server, which is why the export window offers two buttons.
| Type of export | Account | Cost | Print in Fotillo |
|---|---|---|---|
| Test export | not needed | free, unlimited | DEMO mark on photos |
| Signed export | required | 1 export from a pack | clean print |
Use the test export to check the template on your hardware: layout, margins and print quality. Once the template is ready, run the signed export.
Getting started — five steps:
| Pack | Number of exports |
|---|---|
| 700 | 10 |
| 1400 | 20 |
| 2800 | 40 |
| Shortcut | Action |
|---|---|
| Ctrl+Z | Undo (up to 50 steps) |
| Ctrl+Y | Redo |
| Delete | Delete selected element |
| Escape | Deselect all |
| + / − | Zoom in / out |
| 0 | Fit canvas to screen |
| ← → ↑ ↓ | Move selected element by 1px |
| Shift + arrows | Move by 10px |
| Mouse wheel | Zoom to cursor position |
| Alt + drag | Pan canvas |
The editor interface is available in 13 languages with automatic browser detection. Change language on the home screen using flag buttons or in the editor using the dropdown menu in the top-right corner. Your language preference is saved between sessions.
Supported languages: Polski, English, Deutsch, Français, Español, Italiano, Hrvatski, Ελληνικά, Lietuvių, Português, Română, Slovenščina, Українська.
| File | Purpose |
|---|---|
| Collage.xml | Template definition — photo positions, sizes, labels, QR settings |
| Collage.png | Square 1080×1080 thumbnail for Fotillo template browser |
| Background.png | Background image (only present when using image background mode) |
| Frame.png | Transparent overlay with graphics, decorative texts and decorators |
| Overlay*.png | White mask with transparent cut-out shape for each masked photo |
| CutOut*.png | Black mask with transparent shape for each masked photo |
| fonts/ | TTF font files used by XML labels (bundled automatically) |
| projekt.fotillo | Editor project file (JSON) — re-open in editor for further editing |
Fotillo Template Editor supports all dye-sublimation printers compatible with Fotillo software. Templates are created at exact printer resolution for optimal print quality with glossy or matte finish.